
Improve WSL experience
As a Software Engineer, I am a huge fan of WSL (Windows Subsystem Linux) for various reasons: scripting, automation, shell etc … you name it. But also, as a Software Engineer, I like things to be smooth and automated.
Here are below some tips I am using to optimize, industrialize and enhance my WSL experience.
Install a Linux distribution wherever I want
What bothers me the most is usually hidden steps in a process. In WSL for instance, where the hell my linux distribution is installed? Ok, I can find it, but still, I want to control that.
Also, what if I want two different instances of Ubuntu 20.04 that I’ve installed from the Store. Let’s say I want a Python environment and a Node one. I cannot do that easily, can I? (export and import are not what I call friendly)
This is where this simple, yet, amazing tool, enters in the loop: LxRunOffline. This tool unleashes the power of WSL, and adds tones of extra features to the CLI wsl. Read its documentation for the full potential. I will just present below a small use case using LxRunOffline.
Here is my basic need: I want to install a fresh version of Ubuntu 20.04 Focal Fossa under the c:\wsl\ubuntu.20.04 directory!
- Go there and download the image you want, with the following pattern: *-amd64-wsl.rootfs.tar.gz, so, in our example ubuntu-20.04-server-cloudimg-amd64-wsl.rootfs.tar.gz (this is the special version for wsl, not necessarily in the Windows Store yet) and store it under c:\wsl
- Open
your favorite terminalThe Windows Terminal and navigate to c:\wsl - Create your folder
/> mkdir ubuntu.20.04 - Run the following command
/> lxrunoffline.exe i -n ubuntu.20.04 -d c:\wsl\ubuntu.20.04 -f c:\wsl\ubuntu-20.04-server-cloudimg-amd64-wsl.rootfs.tar.gzInput parameters are:
- n: name (displayed in wsl CLI)
- d: directory to install this new instance
- f: source file to use.
And that’s it! Let’s wait a little bit and you’ll have a fresh installation of Focal Fossa.
You can start this instance using the following command:
/> wsl -d ubuntu.20.04
But of course, it starts under root, and this is not a good practise. Let’s fix it:
/[in ubuntu.20.04]> adduser {your name}
/[in ubuntu.20.04]> usermod -aG sudo,adm {your name}
/[in ubuntu.20.04]> exit

/> wsl -d ubuntu.20.04 -u {your name}
And voilà! You can add this as a new option in The Windows Terminal. With this approach you can have several instances of the same Linux distribution and install them wherever you want on your hard drive.
Industrialize your Linux instance setup
Here is another common scenario: you’ve been using an instance for a while, then it’s getting messy, you do not want to reinstall a new one because you are not sure of all the packages you’ve installed, or the settings you’ve changed. I understand and I have two words for you: gist and script.
The idea is to keep somewhere a script where you write down every steps you are executing on your Linux instance, so that you can run it all over if necessary.
This is where gist will help us. gist allows to share code snippets, and these snippets are stored in a Github repository. Of course, you could keep your script locally, but sharing it with others gives good karma points.
Here is mine!
#!/bin/bash

pushd ~ > /dev/null || exit

# update repo
sudo apt-get update

# install python stuff
sudo apt-get -y install python3.8 python3-pip python3.venv

# az cli
sudo apt-get -y install azure-cli

# install posh git
sudo apt-get -y install golang-go
go get -u github.com/justjanne/powerline-go

# Append to .bashrc
cat <<EOT >> .bashrc
# nice ls and folder colors
LS_COLORS='ow=01;36;40'

# posh git
GOPATH=$HOME/go
function _update_ps1() {
    PS1="$($GOPATH/bin/powerline-go -error $?)"
}
if [ "$TERM" != "linux" ] && [ -f "$GOPATH/bin/powerline-go" ]; then
    PROMPT_COMMAND="_update_ps1; $PROMPT_COMMAND"
fi

EOT

# Create repos folders
mkdir repos

popd > /dev/null || exit
This startup kit installs
- Python 3.8 development environment,
- Azure CLI,
- posh-git (to beautify your terminal),
- alter .bashrc to improve colorization and apply posh-git
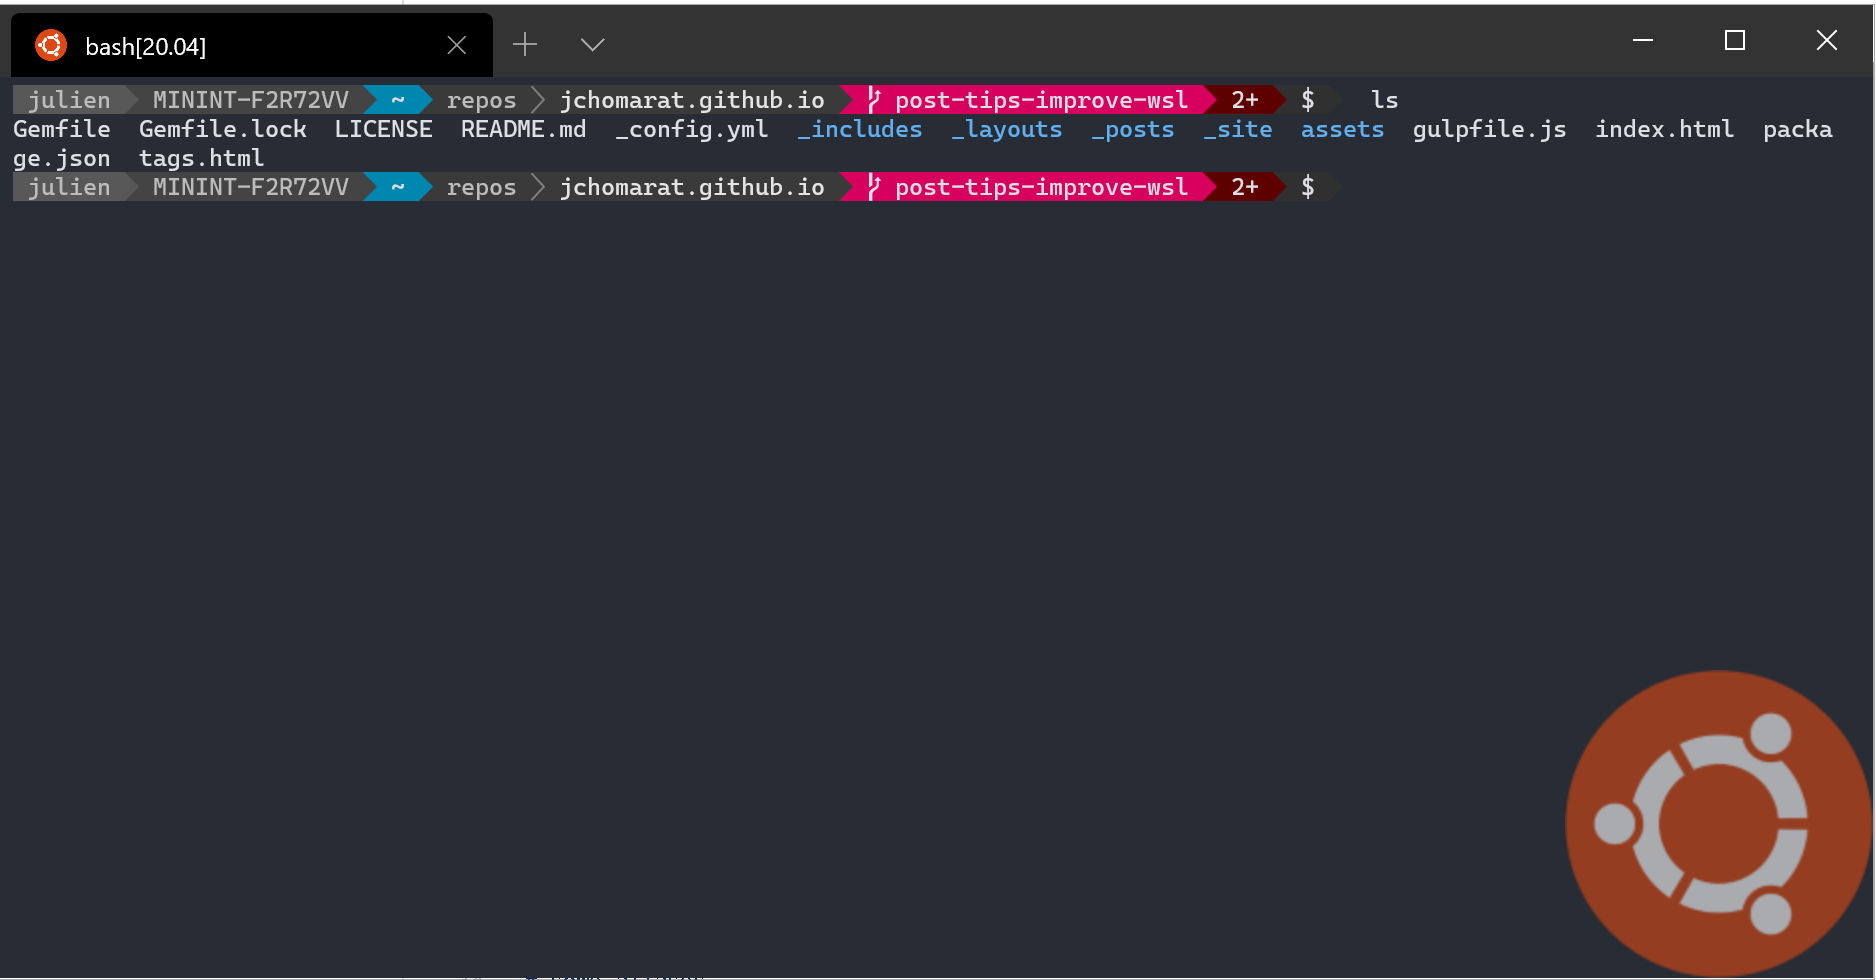
After running this script, my terminal looks like:
Conclusion
And that’s it for now. I will update this post as I come across new tips.